Pages

Monday, May 29, 2017

25 Cards with My Mind's Eye On Trend 2 6x6 Paper Pad


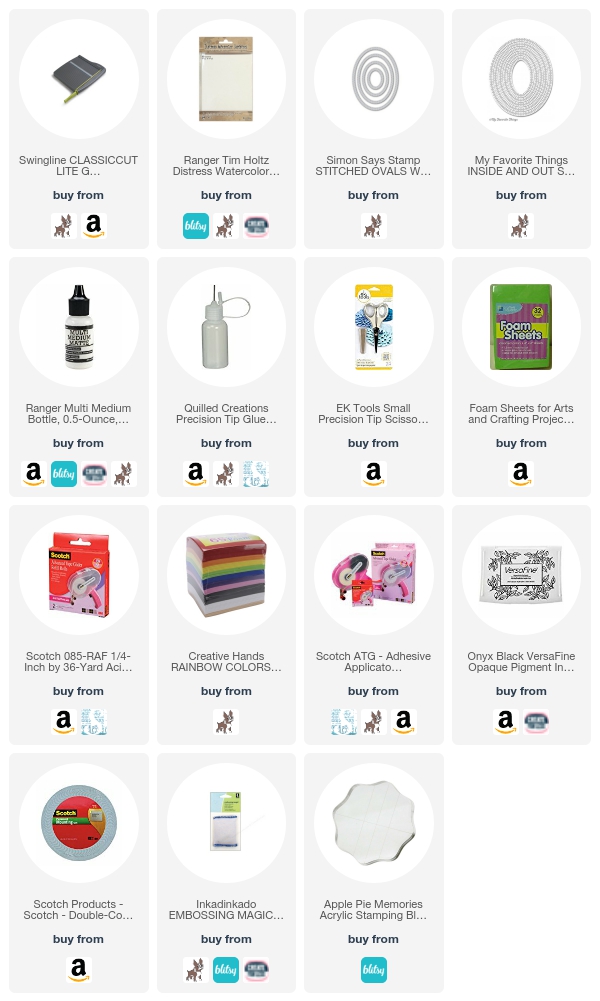
Hello crafty friends! Today I have another 6x6 Paper Pad tutorial this time featuring My Mind's Eye. I am obsessed with 6x6 pads because it is so easy to create a bunch of cards without using many extra supplies. This time I switched it up with a new brand. This paper pad was a little more grown up but I think the cards will work for some older teens for card drives like Cards for Hospitalized Kids. So today I'm using My Mind's Eye On Trend 2 and Create a Smile Decorated Wishes and Just Saying Hello while making 25 cards! Once I had made the 25 cards there was very little left over and I really felt like I got the most out of my pad. To see it all in action check out the video.


I made 2 of most designs but there are some unique cards. Keep scrolling to see pictures of each design and get some measurements. 

Measurements for this card (in inches): A2 (4 1/4 by 5 1/2) card base, largest layer 4 by 5 1/4, patterned square 3 by 3, cut apart 1 by 1 1/2

Measurements for this card (in inches): A2 (4 1/4 by 5 1/2) card base, largest layer 4 by 5 1/4, patterned square 3 by 3, strip 2 by 4 1/4

Measurements for this card (in inches): A2 (4 1/4 by 5 1/2) card base, largest layer 4 by 5 1/4, patterned square 3 by 3, smaller square 2 by 2

Measurements for this card (in inches): A2 (4 1/4 by 5 1/2) card base, largest layer 4 by 5 1/4, patterned square 3 by 3, cut apart 1 by 1 1/2, strip 2 by 4

Measurements for this card (in inches): A2 (4 1/4 by 5 1/2) card base, largest layer 4 by 5 1/4, patterned square 3 by 3, cut apart 1 1/2 by 1 1/2

Measurements for this card (in inches): A2 (4 1/4 by 5 1/2) card base, largest layer 4 by 5 1/4, banner 2 by 3

Measurements for this card (in inches): A2 (4 1/4 by 5 1/2) card base, largest layer 4 by 5 1/4, cut apart 1 by 1 1/2, strip 2 by 5 1/4

Measurements for this card (in inches): A2 (4 1/4 by 5 1/2) card base, largest layer 4 by 5 1/4, strip 2 by 5 1/4

Measurements for this card (in inches): A2 (4 1/4 by 5 1/2) card base, largest layer 4 by 5 1/4, small square 2 by 2, strip 1 by 5 1/4

Measurements for this card (in inches): A2 (4 1/4 by 5 1/2) card base, largest layer 4 by 5 1/4, cut apart 1 by 1 1/2, strip 1 by 5 1/4

Measurements for this card (in inches): A2 (4 1/4 by 5 1/2) card base, largest layer 4 by 5 1/4, square 3 by 3, cut apart 2 by 3

Measurements for this card (in inches): A2 (4 1/4 by 5 1/2) card base, largest layer 4 by 5 1/4, strip 2 by 5 1/4

Measurements for this card (in inches): 3 1/4 by 3 1/4 card base, largest layer 3 by 3, strip 1 by 3

Monday, May 22, 2017

Newton's Nook Designs Inky Paws #47 Reminder

Butterfly Card by Jess Gerstner featuring Newton's Nook Designs Beautiful Wings #newtonsnook

Hello crafty friends! Just a reminder that you still have one week left to play along in the Newton's Nook Inky Paws Challenge. The challenge is a fun color theme. For my card I created a simple background with ink cube swiping. Ink cube swiping is one of my new go to technique for a quick colorful background. The butterfly is from the Beautiful Wings stamp set. Head on over to the Inky Paws challenge blog for full details and to hear about how you can win.


Friday, May 19, 2017

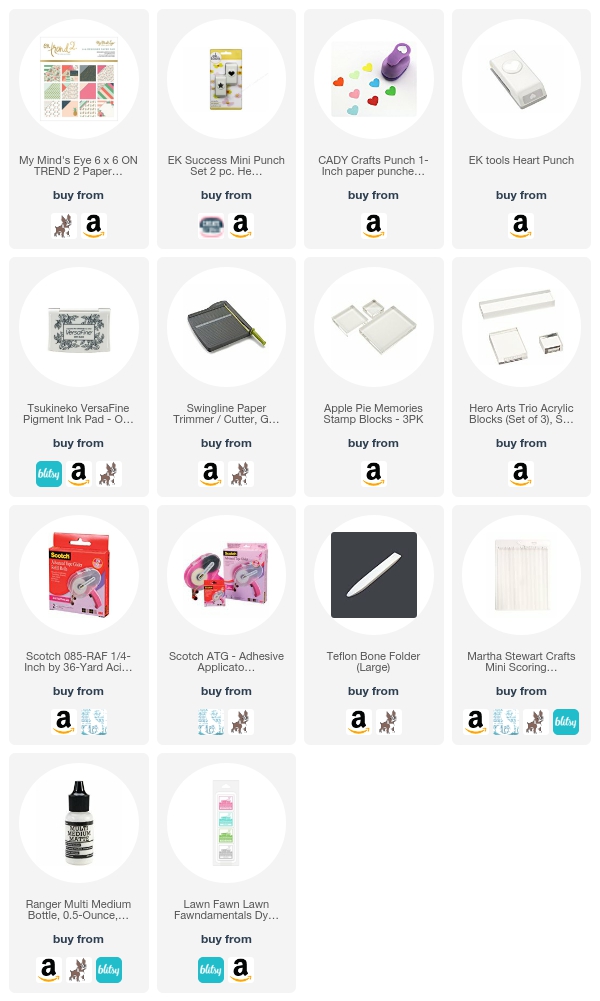
10+ Cards 1 Kit | Hero Arts May 2017 Card Kit


Sea Creature Cards by Jess Crafts using Hero Arts May 2017 Card Kit

Today I'm sharing the 15 cards I created with the Hero Arts May 2017 Card Kit. I have created a video tutorial to accompany the cards. It is a quite a long video but I hope you will find the information and ideas helpful.


The kit is sold out now and unavailable but I wanted to share these cards and video as an inspiration to those who have purchased the kit. To begin I wanted to share some information about the colors I chose for the mermaids. I colored the images with Copic markers. Some skin color combos I used were E99 and E15, E50 and E53, E00 and E11, E33 and E35.

Mermaid Card by Jess Crafts using Hero Arts May 2017 Card Kit
Card 1: Measurements in inches, A2 size card base, black layer 4 by 5.25, ocean layer 3.75 by 5

Oyster Card by Jess Crafts using Hero Arts May 2017 Card Kit
Card 2: Measurements in inches, 4.25 by 4.25 size card base, ocean layer 4 by 4, stitched oval by MFT

Mermaid Card by Jess Crafts using Hero Arts May 2017 Card Kit
Card 3: Measurements in inches, A2 size card base, black layer 4 by 5.25, Tim Holtz watercolor paper layer 3.75 by 5

Mermaid Card by Jess Crafts using Hero Arts May 2017 Card Kit
Card 4:Measurements in inches, A2 size card base, black layer 4 by 5.25, stenciled layer 3.75 by 5, white lace paper 3 by 4.25

Mermaid Card by Jess Crafts using Hero Arts May 2017 Card Kit
Card 5: I made 2 of this card. Measurements in inches, A2 size card base, shiny blue paper 3 by 4.25, oval die by MFT

Oyster Card by Jess Crafts using Hero Arts May 2017 Card Kit
Card 6: I made 4 of this card. A2 sized card. Colored die cut paper created with ink cubes.

Card 7: I made 2 of this card. Measurements in inches, A2 size card base, white layer 4 by 5.25

Card 8: Measurements in inches, A2 size card base, stenciled layer 4 by 5.25, oval die by MFT

Card 9: Card 8: Measurements in inches, A2 size card base, white layer 4 by 5.25, oval die by MFT

Mermaid Card by Jess Crafts using Hero Arts May 2017 Card Kit
Card 10: Card 8: Measurements in inches, A2 size card base, blue layer 4 by 5.25, white lace layer 3 by 4.25

Sea Creature Cards by Jess Crafts using Hero Arts May 2017 Card Kit
If you have any other questions about supplies or techniques please feel free to leave them in the comments or email me at hello @ jesscrafts.com

Sharing is caring! Pin this post to share with others using the graphic below:

Sea Creature Cards by Jess Crafts using Hero Arts May 2017 Card Kit


Monday, May 15, 2017

Newton's Nook Designs Inky Paws Challenge #47


Hello crafty friends! The next Newton's Nook Inky Paws Challenge is now live! The challenge is a color challenge. For my card I used the Paradise Palms stamps and Distress Inks to create a bright fun beach scene. Head on over to the Inky Paws challenge blog for full details and to hear about how you can win.

Tuesday, May 9, 2017

10 Cards 1 Kit | Simon Says Stamp May 2017 Card Kit

Card by Jess Crafts with Simon Says Stamp May 2017 Card Kit Uchi's Design Animation Stamps

Hello crafty friends! Today I have the cards I made with my Simon Says Stamp May 2017 Kit to share with you. In the video below I am sharing how I made these 10 cards with the kit. I had to add a lot of extra supplies this time. In particular I had to add a sentiment stamp set and in this case went with the Create a Smile Just Saying Hello stamp set. After the video there are pictures of the complete cards in case you want to save them for future reference as well as some reminders of the measurements needed to make the animation cards.


I was able to make 4 animation cards out of the two sheets of animation grids provided in the kit. Animation grids are necessary for the animation stamp sets to work so I thought it was important to get as many cards using them as possible. The Uchi's Design stamps were a lot of fun and definitely my favorite part of the kit. Check out their website to learn more about creating cards with the animation grids.

Card by Jess Crafts with Simon Says Stamp May 2017 Card Kit Uchi's Design Animation Stamps

This heart animation slider was included in the kit and layered on some paper.

Card by Jess Crafts with Simon Says Stamp May 2017 Card Kit Uchi's Design Animation Stamps

This card utilizes the Illustrated Faith acetate sheet to make a window card. When making window cards I usually put the acetate pieces between paper and the card base.

Card by Jess Crafts with Simon Says Stamp May 2017 Card Kit Uchi's Design Animation Stamps

For these small animation sliders I cut the Illustrated Faith patterned paper to 4 by 5 3/4 inches. Score the long side at 1/4 inch and 3 inches. Once folded it will measure 4 by 2 3/4. Measure 1/2 inch from the 1/4 inch score line to place the small slider die or cut a small rectangle. Place the circle die in the center or make an X to help you find the center. The animation grid should be smaller than the area inside the pouch you are creating and use foam tape at the edges to make things slide more smoothly. 

Card by Jess Crafts with Simon Says Stamp May 2017 Card Kit Uchi's Design Animation StampsCard by Jess Crafts with Simon Says Stamp May 2017 Card Kit Uchi's Design Animation Stamps

Card by Jess Crafts with Simon Says Stamp May 2017 Card Kit Uchi's Design Animation Stamps

For the watercolor cards I decided to use the Crayola markers that came with the kit. While some people had success putting the marker directly to paper I decided to scribble color onto an acrylic block and pick it up with my brush.

Card by Jess Crafts with Simon Says Stamp May 2017 Card Kit Uchi's Design Animation Stamps


Card by Jess Crafts with Simon Says Stamp May 2017 Card Kit Uchi's Design Animation Stamps

For this large animation slider I cut the Simon Says Cardstock to 4 by 11 inches. Score the long side at 1/2 inch and 5 3/4 inches. Once folded it will measure 4 by 5 1/4. Measure 1 inch from the 1/2 inch score line to place the small slider die or cut a small rectangle directly under. Place the circle die in the center or make an X to help you find the center. The animation grid should be smaller than the area inside the pouch you are creating and use foam tape at the edges to make things slide more smoothly. 

Monday, May 1, 2017

Newton's Nook Designs Inky Paws Challenge #46


Hello crafty friends! The next Newton's Nook Inky Paws Challenge is now live! The challenge is a sketch challenge. For my card I used the Garden Starter stamps to create a bright focal point and then layered up some patterned paper for the other parts of the sketch. Head on over to the Inky Paws challenge blog for full details and to hear about how you can win.