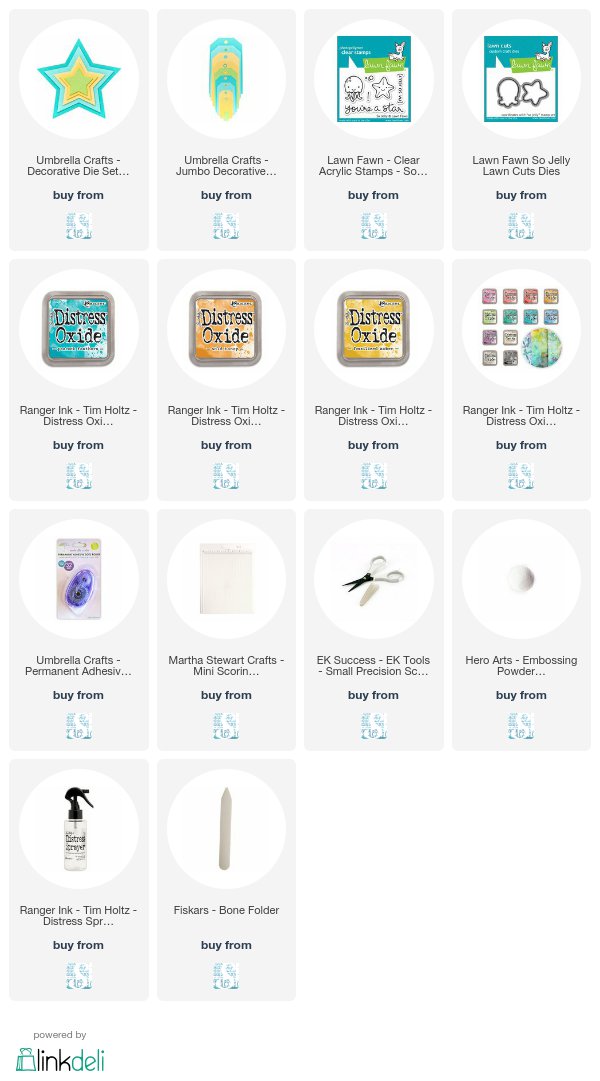
Hello crafty friends! Today I have a tag card featuring Scrapbook.com's exclusive dies. Scrapbook.com reached out to me asking if I would like to review the dies and so I received the dies in exchange for my honest opinion about them. I am working with the nested tags and nested stars dies. I decided to create a tag card by cutting two tags and then scoring the top of one and adhering them together. For more information on how I created the project check out the video below.
I really liked that the tag dies came with two options for adding the holes to the top of the tags. I felt like it gave more bang for the buck and adding the holes was super simple because of the design. The size range in the die sets makes them great for a variety of projects including cards, scrapbook pages or home decor. I found the dies cut easily through the thick cardstock that I used.
Disclosure: As always affiliate links are used when possible and these dies were sent to me for review.
Hello crafty friends! Today I'm here as part of Create a Smile's Comeback Party Video Hop. This video hop celebrates the first release from Create a Smile Stamps in quite a few months and there is a big celebration. There is a digital freebie, free gifts with purchase and a contest. Be sure to check it out on their blog. For my card today I used the new set Clear Lights On and stamped the lanterns on tissue paper to mimic paper lanterns. There are a lot of talented and amaxing crafters on this hop. Find links to all of them below my video.
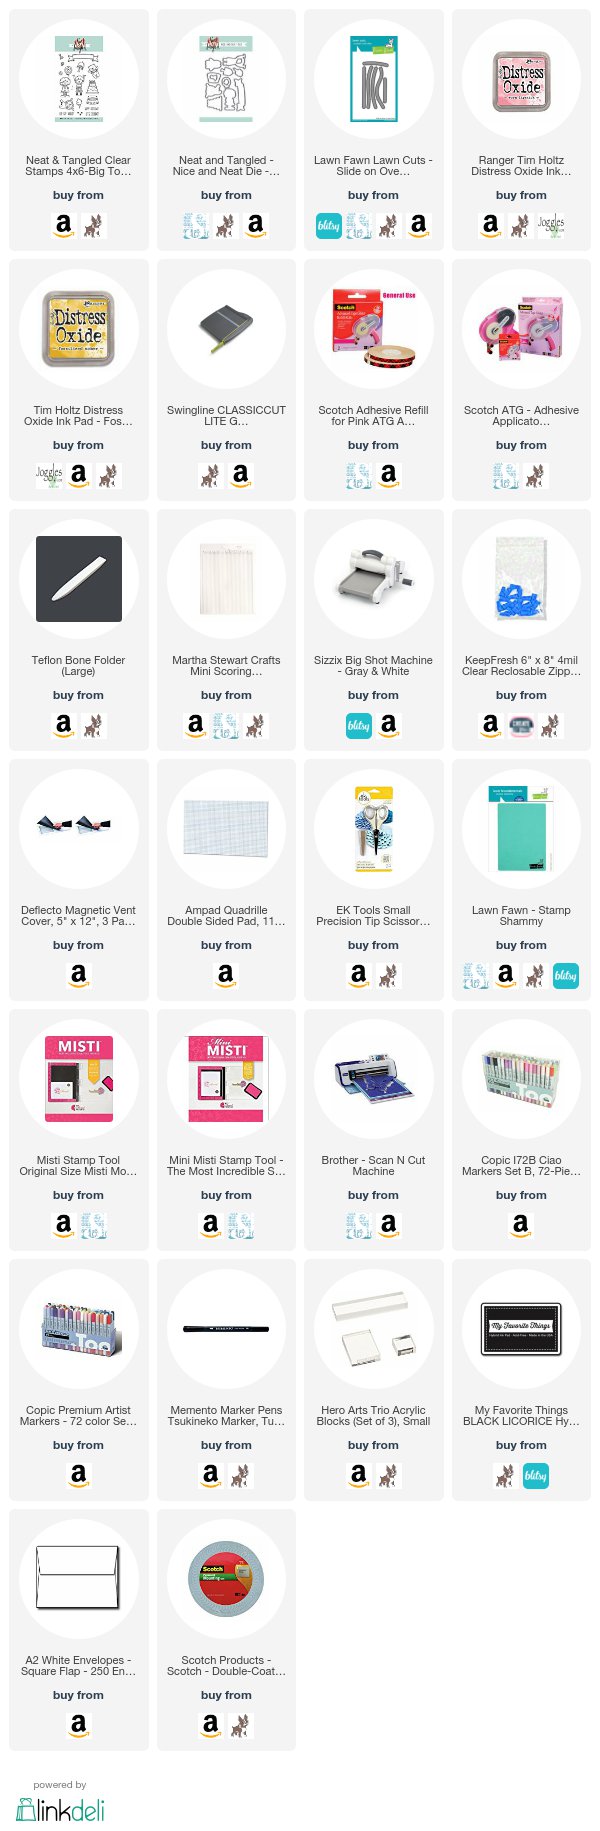
Hello crafty friends! Today I am playing along in the Neat and Tangled Little Tangles Challenge 83. I love Neat and Tangled stamps and I'm always excited to see their new release at the beginning of the month. Check out the sneak peeks for August here. For today's card, using the challenge theme of birthday, I decided to play with the Big Top Birthday set. Check out the video for more info:
Slider cards are such a fun way to make a simple card even more special. I encourage you to play along in this super fun challenge and help Neat and Tangled celebrate their 5th birthday! I can't wait to see the new birthday release and might need to play along another time with my new goodies from the release.
Hello crafty friends! Today I have the cards I made with the Love from Lizi August 2017 Card Kit to share with you. This kit has a TON of supplies, but it is sold out. If you are impressed with the quantity of awesome products in the kit then be sure to keep an eye out for the September kit. In the video below, I am sharing how I made these 10 cards with the kit.
I'm also sharing pictures of the of individual cards. Most cards are A2 size 4.25 by 5.5 inches.
Sharing is caring! Pin this post to share with others using the graphic below:
Hello crafty friends! Today I have another 6x6 Paper Pad tutorial featuring Echo Park Papers and guest designing for Scrapbooking with ME. Scrapbooking with ME is an online store that operates at a website and on Facebook. As part of my guest design series I have a discount code you can use in the online .com store (JG10). All links at the end of the post. I am obsessed with 6x6 pads because it is so easy to create a bunch of cards without using many extra supplies. I think their designs are adorable and I can easily whip up a bunch of cards for card drives like Cards for Hospitalized Kids. If you want more info on donating card please check out my Card Drive Resources page. So today I'm using the Echo Park Papers Summer Dreams 6x6 Paper Pad and Ephemerawhile making 25 cards! Once I had made the 25 cards there was very little left over and I really felt like I got the most out of my pad. To see it all in action check out the video.
Measurements for this card (in inches): A2 (4.25 by 5.5) card base, largest layer 4 by 5.25, rectangle 2 by 3.25, strip 2 by 5.25
Measurements for this card (in inches): A2 (4.25 by 5.5) card base, largest layer 4 by 5.25, rectangle 2 by 3.25, strip 2 by 5.25
Measurements for this card (in inches): A2 (4.25 by 5.5) card base, largest layer 4 by 5.25
Measurements for this card (in inches): A2 (4.25 by 5.5) card base, largest layer 4 by 5.25, strip 4 by 1.25
Measurements for this card (in inches): A2 (4.25 by 5.5) card base, largest layer 4 by 5.25, strip 4 by 1.25
Measurements for this card (in inches): A2 (4.25 by 5.5) card base, largest layer 4 by 5.25, strip 2 by 3.25
Measurements for this card (in inches): A2 (4.25 by 5.5) card base, largest layer 4 by 5.25, square 3 by 3, strip 2 by 3.5
Measurements for this card (in inches): A2 (4.25 by 5.5) card base, largest layer 4 by 5.25
Measurements for this card (in inches): A2 (4.25 by 5.5) card base, largest layer 4 by 5.25, square 3 by 3, strip 2 by 5.25
Measurements for this card (in inches): A2 (4.25 by 5.5) card base, largest layer 4 by 5.25, square 3 by 3, strip 2 by 5.25
Measurements for this card (in inches): A2 (4.25 by 5.5) card base, largest layer 4 by 5.25, square 3 by 3, strip made from two small scraps
Measurements for this card (in inches): A2 (4.25 by 5.5) card base, largest layer 4 by 5.25, strip 4 by .75
Measurements for this card (in inches): A2 (4.25 by 5.5) card base, largest layer 4 by 5.25, strip 2 by 5.25
Measurements for this card (in inches): A2 (4.25 by 5.5) card base, largest layer 4 by 5.25, rectangles behind frame small scraps (2 by 4, 1 by 4, 2 by 1.25)
Measurements for this card (in inches): A2 (4.25 by 5.5) card base, largest layer 4 by 5.25, banner 2 by 4.25
Measurements for this card (in inches): A2 (4.25 by 5.5) card base, largest layer 4 by 5.25, square 3 by 3
Measurements for this card (in inches): A2 (4.25 by 5.5) card base, largest layer 4 by 5.25, rectangles 2 by 3, strip 2 by 5.25
Measurements for this card (in inches): A2 (4.25 by 5.5) card base, largest layer 4 by 5.25, rectangles 2 by 3, strip 2 by 5.25
Measurements for this card (in inches): A2 (4.25 by 5.5) card base, square 3 by 3, strips varios size scraps .75 wide
Measurements for this card (in inches): A2 (4.25 by 5.5) card base, largest layer 4 by 5.25, square 3 by 3
Links and Supplies from the Scrapbooking with ME store:
Hello crafty friends! Today I have a post sharing some fun ways to use washi tape in the craft room sponsored by Unity Star. They are sharing a coupon for 20% off good until 8/31/17. Code: CEZU9RXC. In the projects I use their washi tape and their graphic chart tape. For directions on how to make these projects please check out my video:
I had a lot of fun with this variety pack and if you'd like to give it a try be sure to use the discount code to get an even better deal. As seen in the video:
5 Ways to Use Washi:
1. Decorate office supplies
2. Label items
3. Make a card
4. Make a matching envelope
5. Decorate storage containers
Washi tape cards are simple and even better when paired with a custom envelope.
You can use washi tape to customize your office supplies to match your room, your planer, your personality, etc.
I also love to use washi tape to label items in my craft room. So much more fun than boring white labels.
Sharing is caring! Post the image below to Pinterest to save for later or share with friends!
This post and video was sponsored by UnityStar. I use and recommend FameBit for finding sponsorships. Referral and affiliate links used at no cost to you.
Hello crafty friends! Today I have an unboxing of the Love from Lizi August 2017 Card Kit. At the time I recorded the video the kit was still available. If you missed out this month but are liking the look of the kits, consider subscribing or joining their mailing list. Without further ado, here is my unboxing with some ideas of what is to come in my 10 Cards 1 Kit video.