Hello crafty friends! Today I am sharing how to use up 6x6 patterned papers without creating any patterned paper scraps. A friend shared that this style of cardmaking can be referred to as a one sheet wonder. I'm not sure who originated the style, as I have seen many crafters refer to it, but please let me know if I should be crediting a specific crafter. Today I am sharing how to cut up a 6x6 piece of paper that will result in 2 of the exact same card. However in order to mix up the patterns because this paper pad only has one color on both sides I am cutting 2 sheets for a total of 4 cards. I am using cardstock to mat the patterned paper pieces which will create some cardstock scraps. In the video I share some ideas of what to do with those scraps. In this blog post you can find a template for how to cut your paper as well as a sketch to show what should be done with those cuts. Of course feel free to mix it up to your own liking.
This post and video is not sponsored but compensated affiliate links are used to support my blog and channel. Thank you!
Please let me know if you find this helpful and would like to see more. It's a fun challenge and I love working with patterned paper!
I decided to make two cards because I had two strips of the orange paper and I thought it would be fun to color two critters from the set. The sparkle comes from the black glitter cardstock banners and mat behind the orange. I LOVE MFT sketches and recommend downloading and printing the PDF so you have plenty of ideas when you lose your crafty mojo.
Hello crafty friends! Today I have the cards I made with my Simon Says Stamp April 2018 Kit to share with you. In the video below I am sharing how I made these 10 cards with the kit. I tried to keep the extra supplies to a minimum but did use markers for coloring, my Scan N Cut, rectangle dies and black ink. For more information on the cards check out my video.
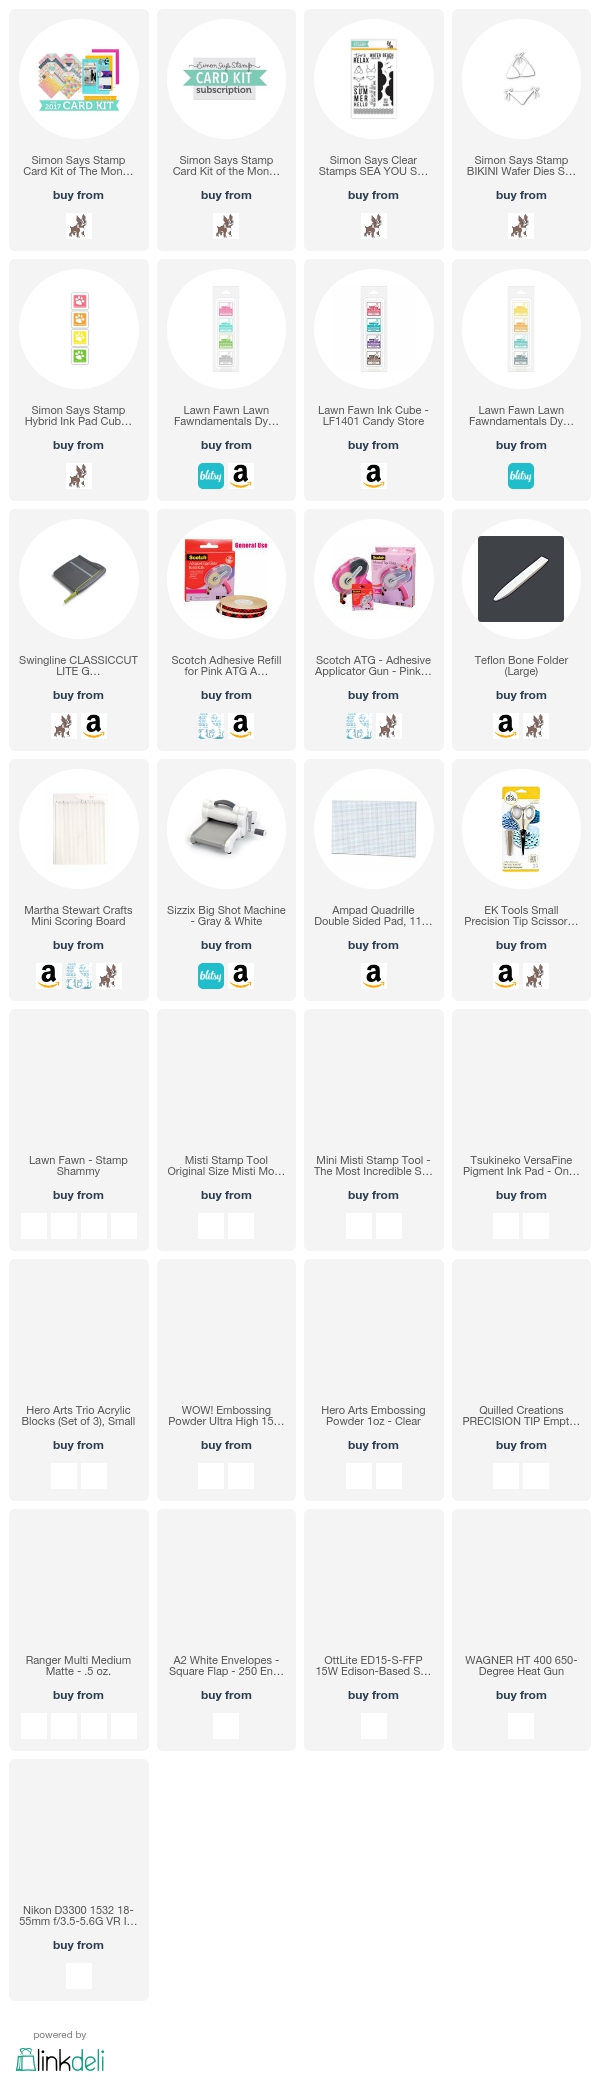
I've included pictures of the complete cards in case you want to save them for future reference and all cards are A2 sized. Links to supplies are also at the bottom of the post.
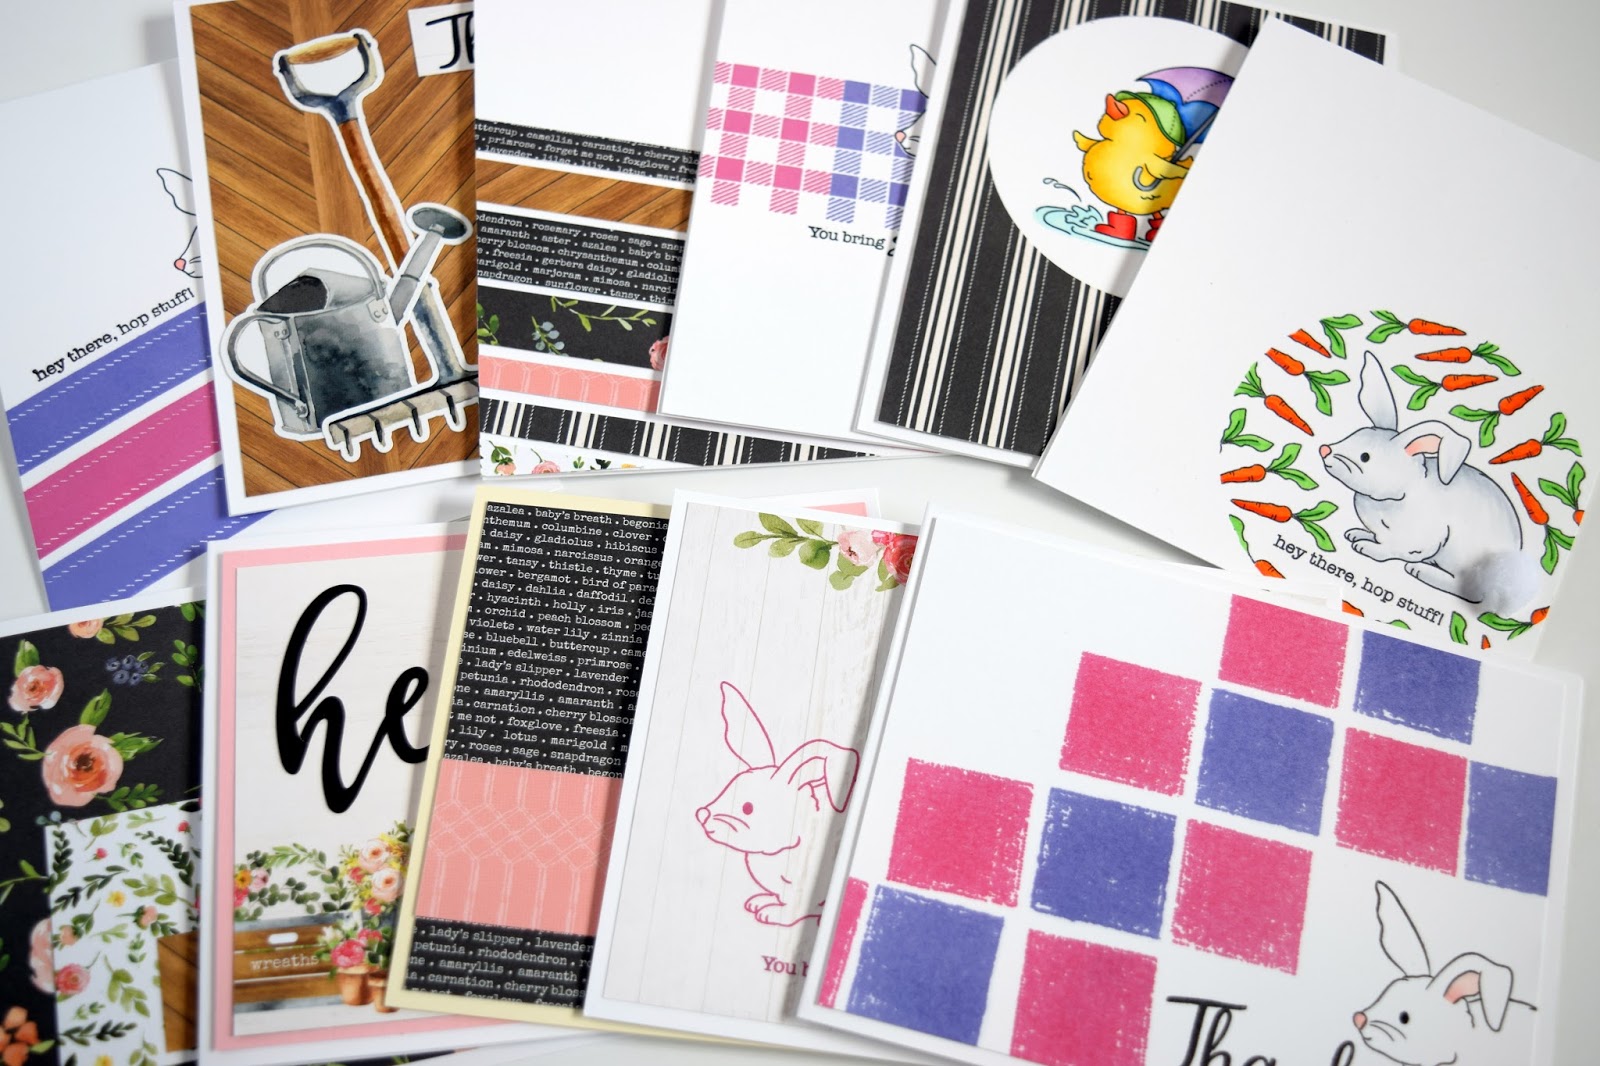
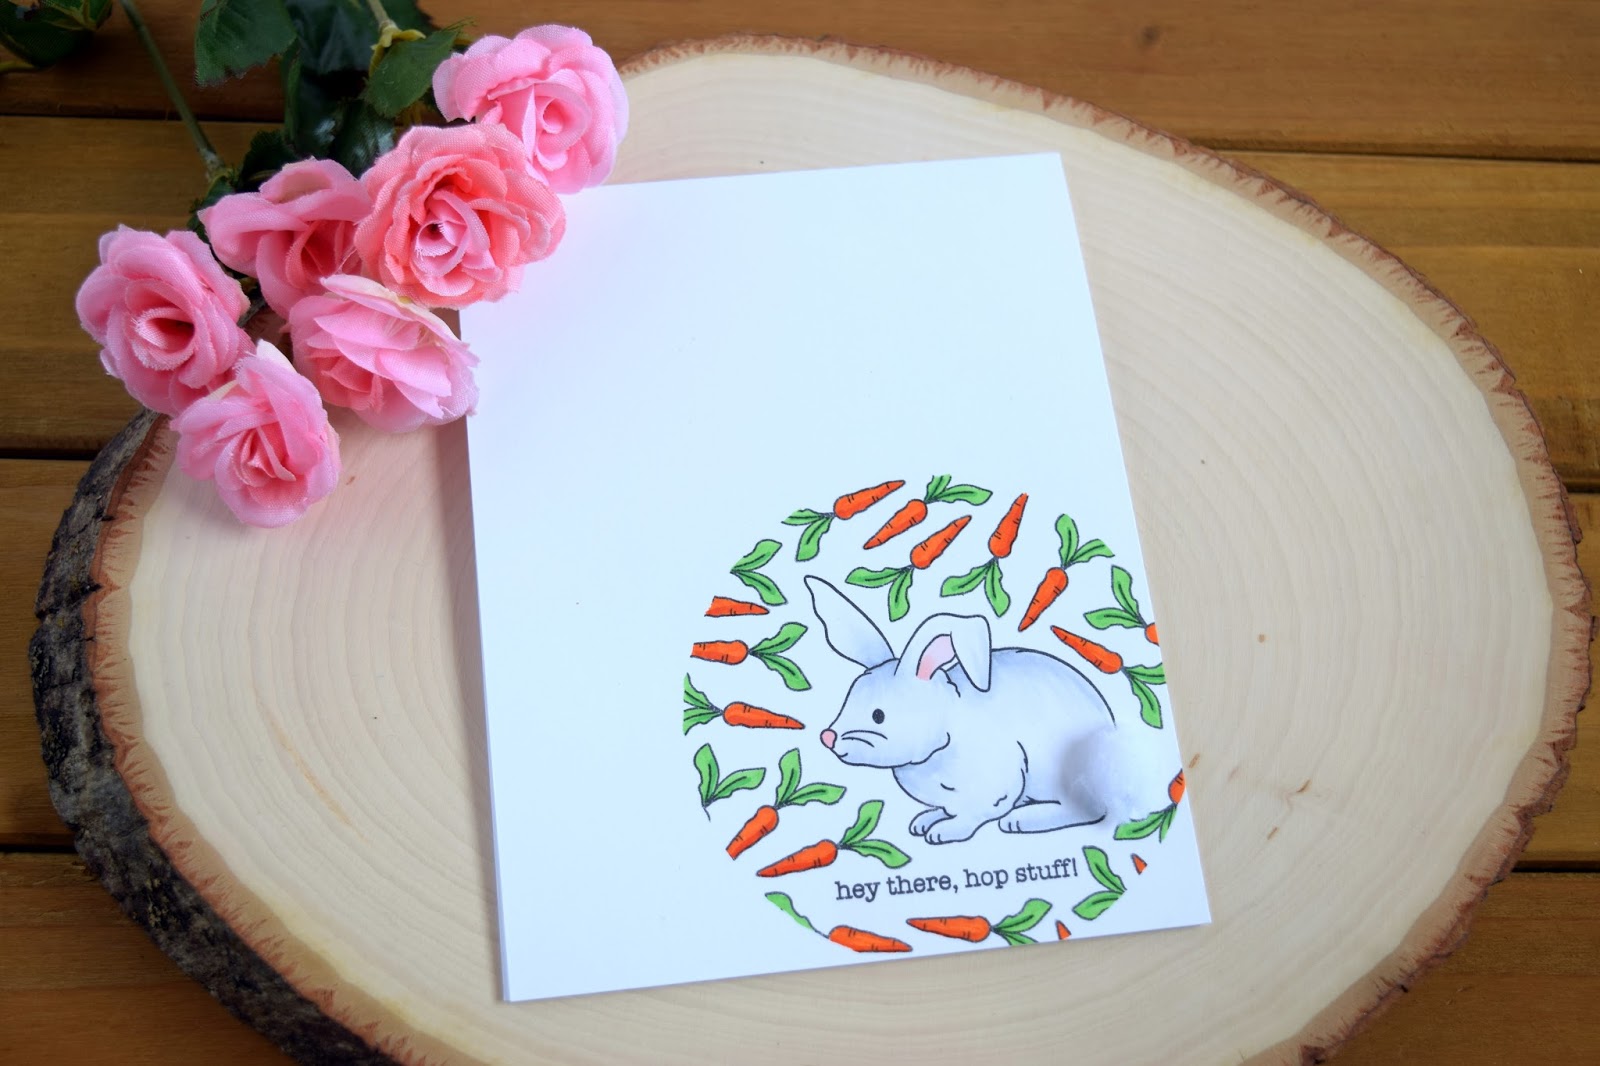
Hello crafty friends! Today I have the cards I made with my Simon Says Stamp March 2018 Kit to share with you. In the video below I am sharing how I made these 10 cards with the kit. I tried to keep the extra supplies to a minimum but did use markers for coloring, masking paper and black ink. For more information on the cards check out my video.
I've included pictures of the complete cards in case you want to save them for future reference and all cards are A2 sized. Links to supplies are also at the bottom of the post.
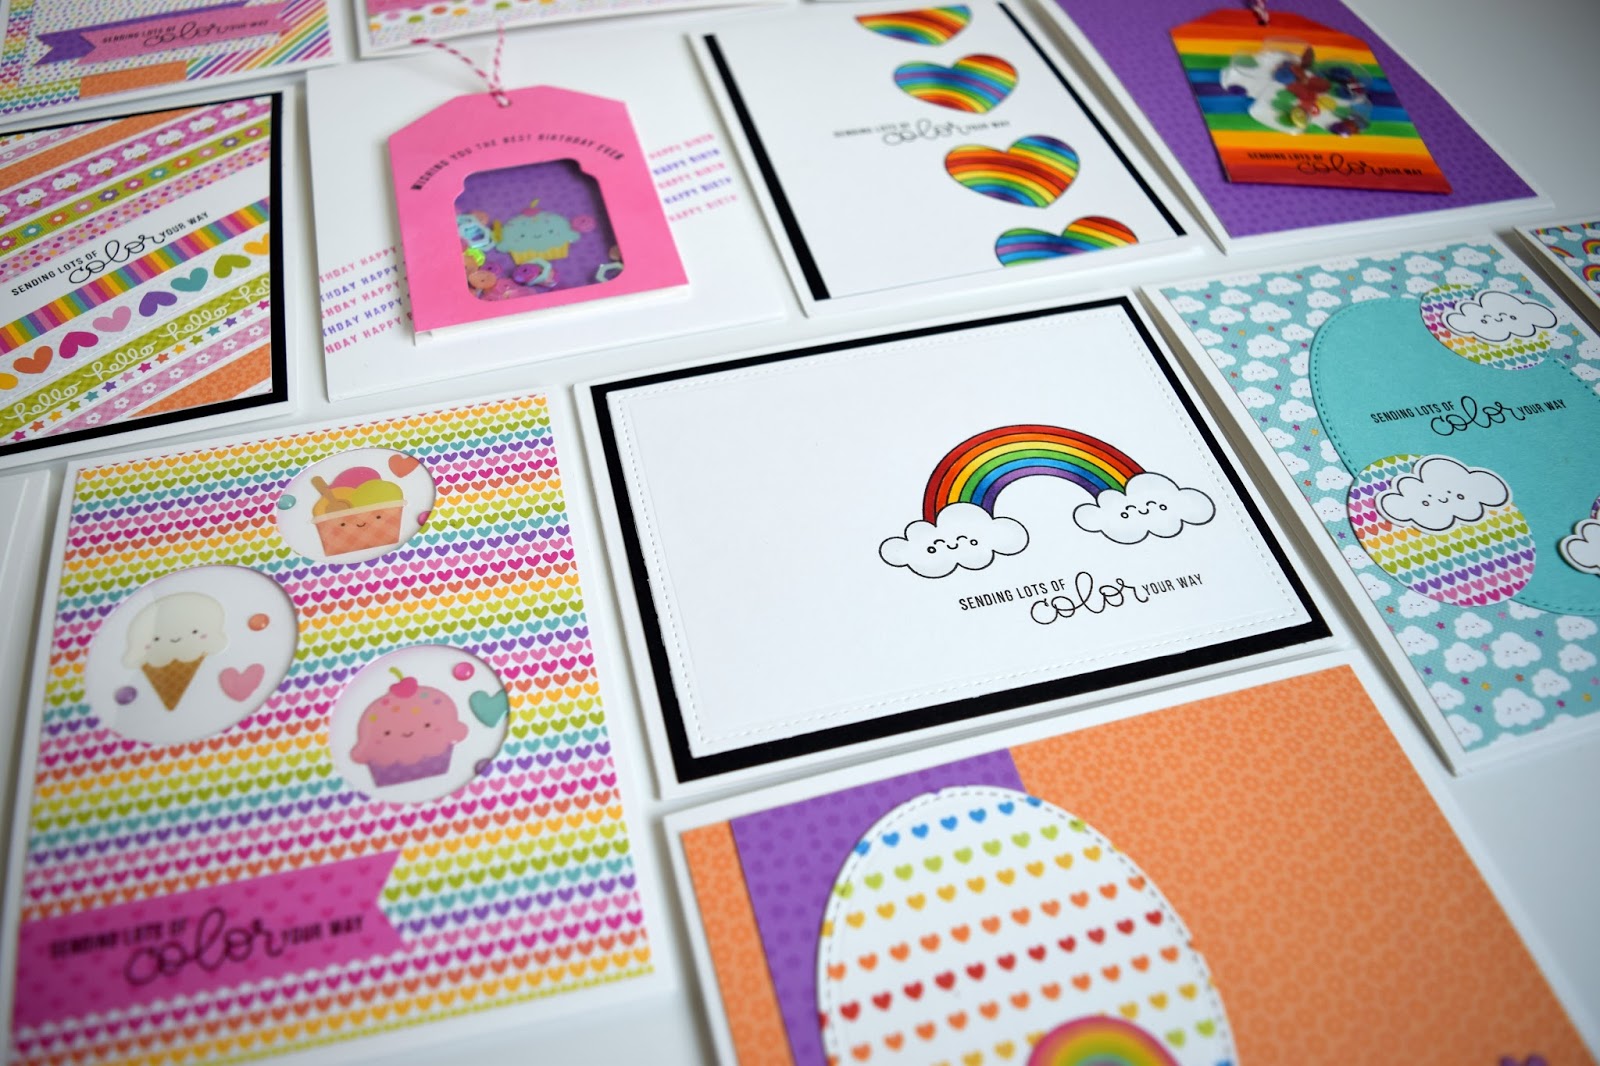
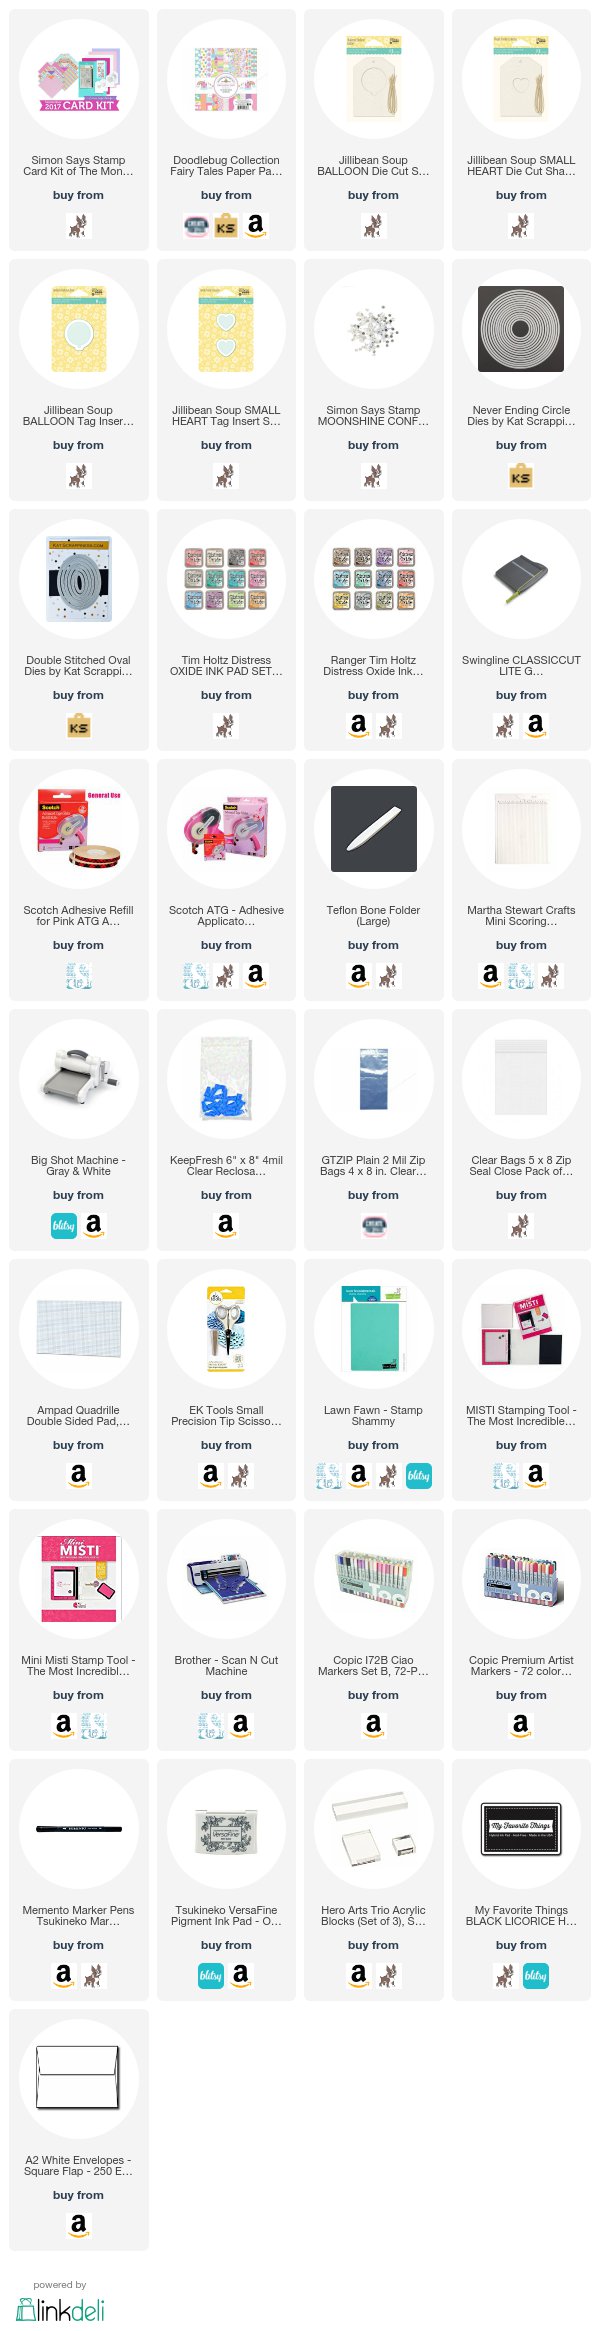
Hello crafty friends! Today I have the cards I made with my Simon Says Stamp September 2017 Kit to share with you. In the video below I am sharing how I made these 12 cards with the kit. I tried to keep the extra supplies to a minimum but did use some basic shape dies, markers for coloring, and sequin mixes. For more information on the cards check out my video.
I've included pictures of the complete cards in case you want to save them for future reference and all cards are A2 sized. Links to supplies are also at the bottom of the post.
The two bonus cards to use up the rest of the patterned paper:
Hello crafty friends! Today I have the cards I made with my Simon Says Stamp July 2017 Kit to share with you. In the video below I am sharing how I made these 12 cards with the kit. I tried to keep the extra supplies to a minimum but did use a lot of colored inks. Since I use the ink to create a monochromatic look you could use Versamark ink instead to create a similar effect.
I've included pictures of the complete cards in case you want to save them for future reference and some measurements to help you recreate them if you're interested. Plus there is a pinnable image on the bottom so you can save this post to Pinterest for future reference.
Measurements for this card (in inches): A2 (4.25 by 5.5) card base, largest layer 4 by 5.25
Measurements for this card (in inches): A2 (4.25 by 5.5) card base, largest layer 4 by 5.25, banner 1.75 by 3
Measurements for this card (in inches): A2 (4.25 by 5.5) card base, largest layer 4 by 5.25
Measurements for this card (in inches): A2 (4.25 by 5.5) card base, largest layer 4 by 5.25, strip 2 by 4.25, smaller rectangle 3 by 4.25
Measurements for this card (in inches): A2 (4.25 by 5.5) card base, largest layer 4 by 5.25
Measurements for this card (in inches): A2 (4.25 by 5.5) card base, largest layer 4 by 5.25, square 3 by 3
Measurements for this card (in inches): A2 (4.25 by 5.5) card base, largest layer 4 by 5.25, square 3 by 3
Measurements for this card (in inches): A2 (4.25 by 5.5) card base, largest layer 4 by 5.25, banner 3 by 4
Measurements for this card (in inches): A2 (4.25 by 5.5) card base, largest layer 4 by 5.25, rectangle 3 by 4.25
Measurements for this card (in inches): A2 (4.25 by 5.5) card base, largest layer 4 by 5.25
Measurements for this card (in inches): A2 (4.25 by 5.5) card base, largest layer 4 by 5.25, rectangle 3 by 4.25
Sharing is caring! Pin this post to share with others using the graphic below: