Showing posts with label Altered Item. Show all posts

Sunday, October 14, 2012

ABAC Challenge 4: Halloween/Fall


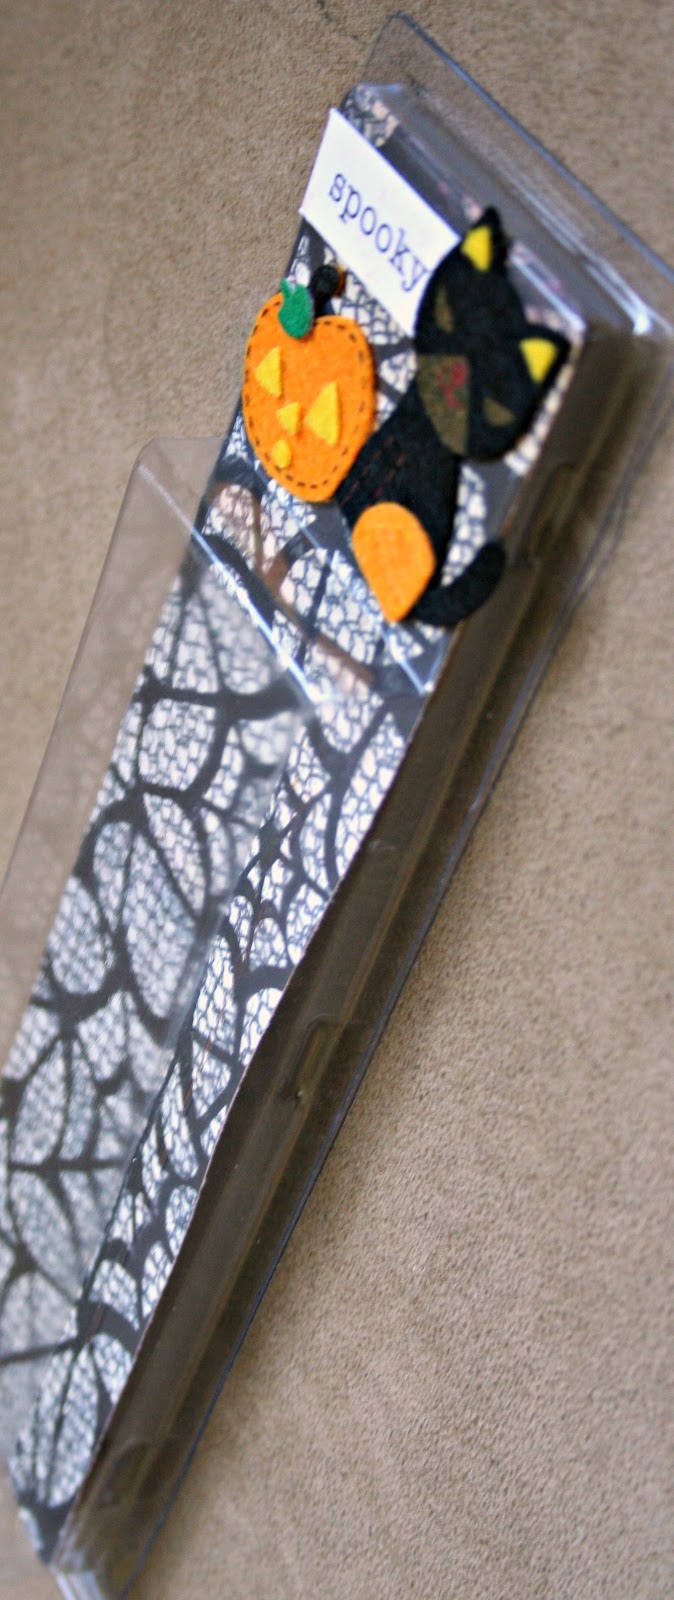
This week at Anything But a Card we are looking for your Halloween creations. This should be an easy one because Halloween lends itself to lots of fun treat holders. In fact most of the projects for ABAC around this time will be treat holders from me because I'm excited to give them to friends and family. This week I have some upcycled packaging decorated for Halloween. Can't wait to see your Halloween project over the next two weeks!

Wednesday, December 15, 2010

Sassafras Box featured on the Blog!


I altered this plastic chocolate box recently for a friend. Cleaned it out and covered it in some fab Sassafras from my stash. A collection that I resisted buying because I wasn't sure what I could use it for but knew I loved it. I finally gave in and thought the fun whimsical nature would be perfect for the friend in mind. It was a cheap way to give a little welcome back to NJ present but the cherry on top is that it is being featured on the Sassafras blog today!


Thanks to Sassafras for featuring my project with "vintage" Sassafras papers and stickers!

Saturday, October 30, 2010

Halloween Projects

I needed some last minute Halloween projects to brighten Halloween for the family. Love giving gifts and cards on these little holidays when its not so expected. This little bottle is for the Creative Craft Challenge Trick or Treat challenge since a little Halloween treat will be going inside (think little bit of licorice strings as legs).

I wanted to create sometimes a little different and that would go with this fab label rub-on so I made a bottle shaped card for the RRR Halloween challenge. Ribbon was the perfect way to finish off this card so it worked great with the challenge to me even though its only a small bit of ribbon.


Friday was the school Halloween party and I must say its a little stressful from a teacher perspective but its also really fun and all the little ones were so cute in their costumes!

Happy Halloween!

Friday, September 3, 2010

SEI Pup Luv


Today on the SEI blog they are featuring projects from the 3D challenge including this accordion mini album I made with SEI Ally's Wonderland paper. It is mostly a photo album for my cousin of pictures of her dog. I included extra pages for more pictures or for journaling if she wants to add any.


Monday, July 26, 2010

Scrap It With a Song #15

This week at Scrap It With a Song we are using the song Somewhere Over the Rainbow the Katherine McPhee version. I created a mini album for this week about graduating from college. I focused on the dreams really do come true lyric. There are so many fabulous ways to use this song and if nothing else a rainbow project is really fun! Our sponsor this week is Sew Many Cards which makes some adorable digital stamps that I have in the past had the pleasure to work with and they will be giving the winner 5 digi stamps of their choice. Check out the blog for more inspiration and to share your creation!


Thursday, July 22, 2010

Paper Sundaes DT Call

Paper Sundaes is having a DT call. Now this is my kind of challenge blog because they a wide variation in their challenges. Some weeks it is a technique and others its a particular supply or maybe a color. Well for their call they asked for examples of favorite projects. I think its hard for me to choose favorites but I'm going to share with you and them some past cards I've loved and a new project inspired by their latest challenge.

I love color and funky paper. My first card featuring some SEI Bridgeport and my second card is made with Sassafras. In both cards I tried to mix lots of different colors in a complimentary way. As you can see and you would know from following my blog the only thing I like more than challenges is patterned paper.

For my last project I have my entry into their latest challenge to make your own flowers. GCD Studios shared a flower technique that I modified to create this 3D pendant for my cousin's birthday.

So check out the Paper Sundaes challenge blog to find out more details about the current challenge and the DT call.


Wednesday, June 23, 2010

Updates and Projects to Share

Life had been busy for many reasons. Even though I just graduated I'm taking summer classes for my graduate degree. I have a big project due tomorrow but I'm taking a little break to share some things with you. I've been spending a lot of time on schoolwork but I've also been making cards for the Papercrafts call (They received 1500 cards for 152 spots!). However I do have some crafty things I can share. First up the picture above is my cousin graduating from college last Friday and the crafts I have to share were for her.

I made a mini graduation cap for her. We saw a graduation cap card in a store that she liked so I took it to the next level and made a little paper hat. As you can see its a square piece of cardstock. Then a long strip of cardstock with slits cut so it can be rolled up and attached.

The tassel is embroidery floss with a loop on one end and a simply knot. The tassel is held on by a brad. I added a 'celebrate' charm in lieu of a year charm because I wouldn't even know where to find one.

Next up are some little graduation treat I made. They are meant to be chocolate caps. Reese Peanut Butter cups with Keebler Deluxe Grahams on top and some icing tassels. Very simple with no baking skills required.

Last to share is a picture of me and my friends from college who came to visit me in my new apartment. MK brought a big bag of cookies to share, though in the end my boyfriend wound up eating most of them. I'm hoping to get some crafty projects done over the weekend because I am finishing a class this week but will be starting another one soon. But I'm not sure how much I'll get to because I have a bug bite that has turned into an infection in my foot and left me on crutches. The trick is figuring out how to keep my foot elevated while crafting. I'll be back tomorrow with my Pink Elephant Scrapbook Challenge LO!


Tuesday, February 23, 2010

Another Treat Holder

So I’m back with another treat holder because well who couldn’t use a cute simple gift. Plus I’m a little addicted to my GCD papers lately especially the black and white. This is a design I made as I went, but hopefully I can walk you through it, if you’d like to give it a go, since its pretty simple.

To make the small pocket inside I cut a 6 by 3 inch rectangle. I folded at a ¼ inch in from each long side. Then I folded down the middle and again ¼ inch below that.

Snip the two folds in the center as seen in the picture and add adhesive. The two side flaps sit on top of each other and one side will be longer than the other like a library pocket. Punch a hole on each side of the pocket at the top.

The outside is simple a 3.5 by 8 inch rectangle folded at 3.5 and then again at 4.5. You will need to punch holes in the middle sides of the top of the container. Thread the ribbon through the pocket then up through the outside piece and tie a bow.

Decorate the front and inside pocket as desired. I choose some GCD Studios paper, a chipboard circle and a tag for the front.

Saturday, February 20, 2010

Tea is Wise Tag Album


So I've recently given up coffee for awhile basically because its kind of a vice/crutch for me even though I never have more than one cup a day. I don't want my DD coffee to be the highlight of my day because I want to focus on the other joyful nonmaterial things in life. So I've found myself sipping on tea when I want a warm drink and on Celestial Seasonings tea there are little quotes at the end of the strings. Well since I like to collection things to repurpose I collected some of these quotes. Then GCD Studios issued a challenge that asked us to reflect in a LO one what we've learned in 2009. But I didn't make a LO, instead I went with a mini album and used the quotes to reflect on last year. It was great to get a lot of journaling out even if there are no pictures.


I used GCD Studios letter stickers and a few of their fantastic journaling tags. Honestly I wish I knew somewhere that carried them where I could just buy a plethora of the tags because I don't want to use up the ones from my collection packs. So this is an album to relax my hoarding ways which is something I learned in 2009. Use what you have, not just scrapping supplies either, because not only is it good for your budget and the earth its good for your guilt. Ever feel bad picking up those few more sheets even though you know you have more paper than you could ever use?, then you know what I mean.


Clinton Kelly, from TLC's What Not to Wear, came to my college, Rutgers, last night! It was very exciting and he is charming and hilarious. He gave a little speech about dressing for work then took a lot of audience questions. My friend Yoli and I (in the pic above) had those hats on the whole time because well I love hats and especially that one which was hand knit for me by bf's mom. Well when someone asked about hats and if they are ever a good accessory, Clinton pointed out our hats as an example of cute hats done right. A fashion compliment from Clinton Kelly, makes me feel pretty good especially because this hat has become my winter staple.

Friday, February 19, 2010

GCD Studios Basket Tutorial


Easter is fast approaching and my mom is always looking for ideas for gifts to make. Yesterday I came up with an idea for a quick basket that can be used for Easter or really any other gift giving. Also its a great way to show off the other pretty side of your double sided papers.


I love the simple shimmery pattern on the other side of this GCD Studios Margarita paper.


These are super simple to make. Cut a 9x9 piece of double sided patterned paper. Another reason I love the GCD Studios paper is because it is thick and so I know my basket will be able to hold some candy without crumpling. Fold the paper at the 3 inch mark on all sides as seen below. Fold the paper so that the sides come into the inside pattern. You will also need to fold the corner squares diagonally toward the center.


Here's a picture of where to put the adhesive on the outside side of the paper. Push the diagonal edges toward the center and the basket will fold into a cube shape. The basket is further held together by the brads when you attach the handle.

I cut out a flower from the same GCD paper but used the inside for the embellie. I added a prima and a tag from the Margarita collection pack.

GCD Studios and Floss Necklace with Tutorial

There has been so much inspiration at the GCD Studios blog lately that I decided I really needed to play with some GCD goodies. I wanted to combine their chipboard with their paper but in a bit of a different way which made me think of the Moxie Fab floss challenge because it hit me. A necklace! I’m sure at least some of you have seen these paper beads before and they are very simple to make but I want to walk you through the project just in case you’d like to play with paper beads.

First I picked out my charms. A hand painted bead from an impulse buy at the craft store. Then I turned to my GCD Shades of Black chipboard. Now as other fans of GCD may know the chipboard is self adhesive which I love because it meant a way to add some quick texture to the back by covering the back with some beautiful flocked paper from the Bright Skies collection. I also tied my yellow in with a little flower on the J. I poked a hole with a paper piercer in each piece and then strung them.

To make the paper beads you simply cut paper strips to your desired thickness (I used ½, 1, and 1 ½ inch widths for my beads) and at least six inches long. Put a small bit adhesive on the end of the side you would like to be shown. Then put some additional adhesive on the other side. Roll around a pen or other utensil.

Now these paper beads made from some gorgeous black and white GCD paper are fab but I wanted to add a bit of interest to them and pull my yellow back in so I decided to give the beads a stitched look with floss. To do this you only need to make a few stitches on the tail end of the bead before you finish rolling.

I wanted these to be dangly charms, not coming right off the necklace so I needed a way to attach the string to the main necklace string. Well typing it on is simple enough but not quite so pretty. So I made an extra large bead again using floss stitching then I cut a slit to the middle where the paper met. Next I put the tied together chipboard charms over the necklace string then slid the charm string to the center of the large bead.


Now what I’m sure you’re all thinking is: Can I wear this? Well I’ve got to admit it’s a little delicate because it’s made of paper after all. But you can seal paper beads with modge podge to make them more durable and as for my necklace my sister is a big fashionista and I know she would love to display it on a necklace form just as a conversation piece. So that’s it my floss project hope it inspires you to take another look at some supplies you have laying around.